A mood board fails when it is only inspiration. The client cannot tell which images are lighting references, which are wardrobe, and which are “not this.” Treat the board as a decision document: fewer references, clearer labels, and one place to comment.
Limit the board to the decisions that matter
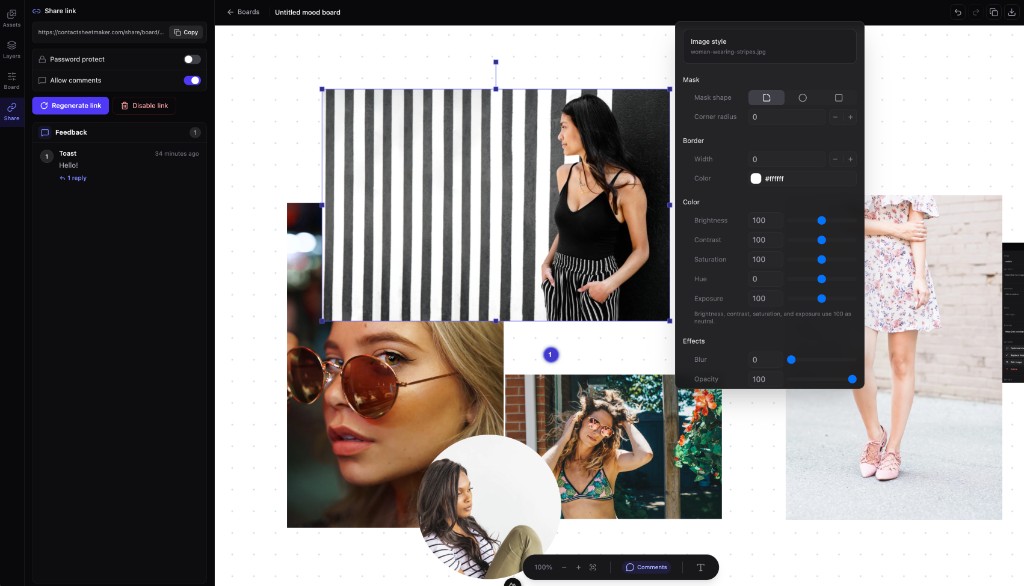
Group the canvas by the choices the shoot still needs: colour and grade, locations, wardrobe or product styling, and framing. Two or three references per group is enough. Extra images dilute the direction and invite the client to approve a collage instead of a plan.
Label what each reference is for
Add short type next to a frame: “window light, not the sofa,” “matte ceramic, ignore the logo,” “this crop for the hero.” Mixed media helps here. A board can hold stills, a short video clip, a PDF page from the brand guide, and those notes without jumping between tools.
Share a private view, not a file dump
Export a PNG for a deck if the meeting is live. For remote approval, Ultimate share links open in the browser and can be password-protected. Canvas comments keep feedback on the exact reference instead of in a separate email. Build the board in the mood board maker.
Lock the direction before you shoot
Ask the client to confirm or reject each group, not the whole collage. Once the board is agreed, keep it beside the shot list. After the shoot, switch formats: the mood board was the brief, the contact sheet is the review of what you captured. The mood board vs contact sheet guide explains that handoff.