A useful contact sheet is more than a page of small pictures. It preserves the order of a shoot, keeps filenames readable, and gives everyone one reference for selections and notes. This guide walks through the exact browser workflow for turning a folder of photographs into a PDF.
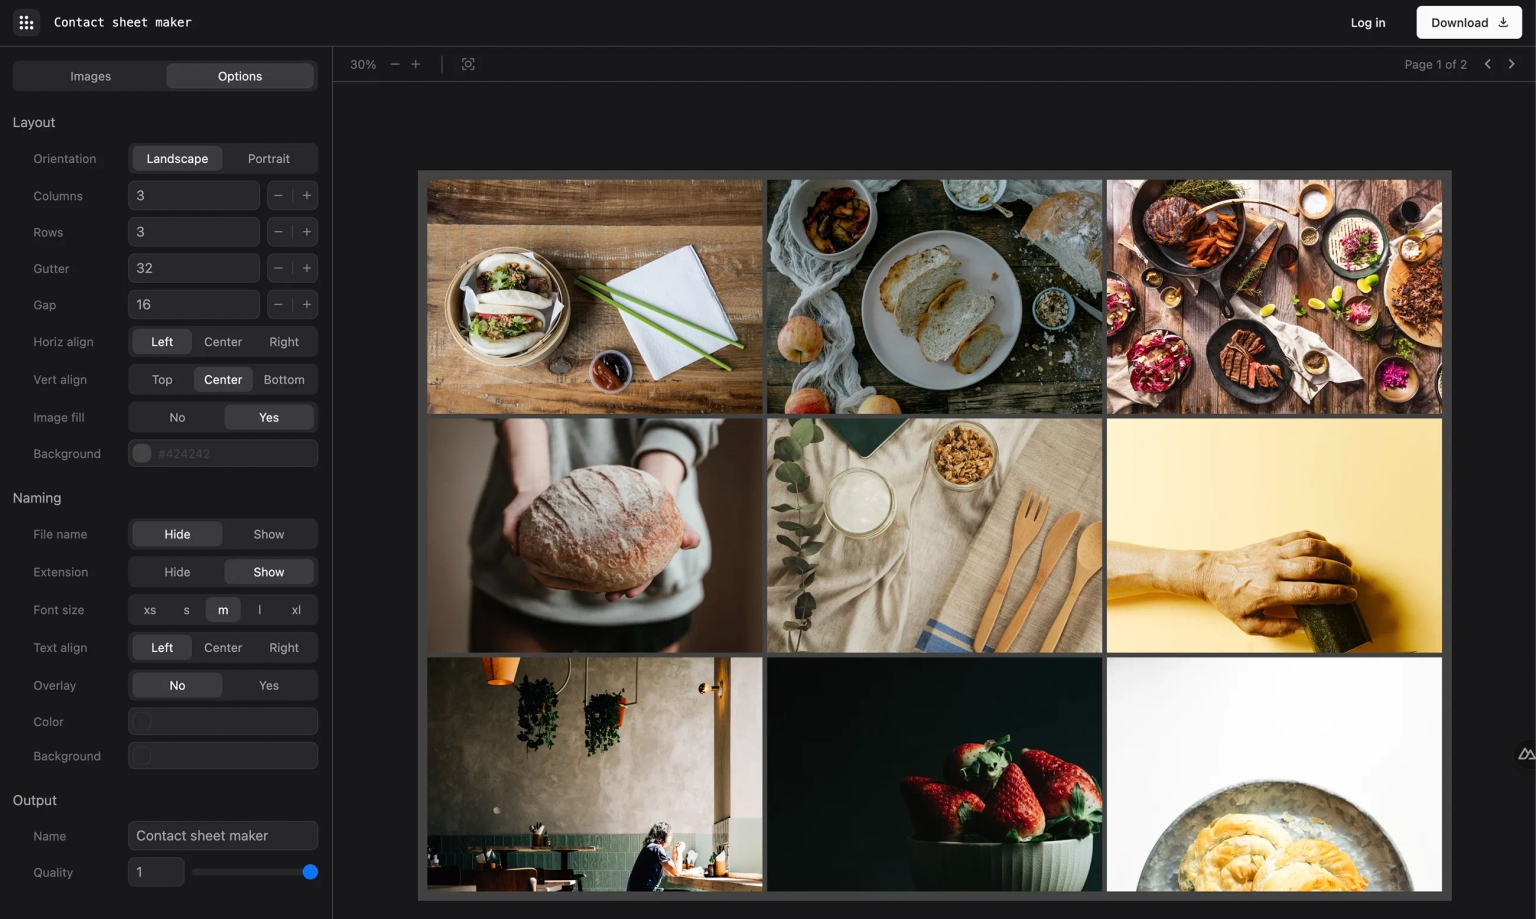
Before you begin
Put the images for one review into a clearly named folder and decide what the recipient needs to identify: the original filename, a sequence number, or both. ContactSheetMaker accepts common photography formats including JPEG, PNG, GIF, BMP, and TIFF.
- Use copies or exported previews rather than your only originals.
- Keep filenames meaningful if clients will send selections by name.
- Choose a consistent image orientation when possible.
- Decide whether the PDF is for screen review or printing.
1. Open the free contact sheet editor
Go to the contact sheet editor. You can create and preview a sheet without registering. Downloading a PDF requires a Pro or Ultimate plan. An account is also needed to save projects or use other paid features.
2. Add and check the photo set
Add the complete set, then scan the thumbnails before styling the page. Remove accidental duplicates or test frames and confirm that the order matches the sequence you want the reviewer to see. Reordering now is clearer than explaining a confusing sequence after export.
3. Choose a readable grid
Start with fewer columns than you think you need. Larger thumbnails make expressions, focus, and small composition differences easier to judge. Increase the column count only when the overview matters more than close comparison. Check every page after changing columns or spacing because pagination will change with the grid.
4. Add labels and page details
Keep the filename visible when the PDF will be used to request selects. Add a short project or shoot name to the page rather than a long introduction. Paid plans add watermark and brand controls when previews need attribution, but those elements should not cover the details the client is being asked to compare.
5. Review the PDF before sending it
Download the PDF and open it outside the editor. Check the first and last page, filename legibility, image order, and any cropped thumbnails. If the document will be printed, view it at the intended paper size. A quick export check catches most layout problems before a client sees them.
Contact sheet workflow checklist
- All intended photographs are present once.
- Thumbnails are large enough for the review decision.
- Filenames or sequence labels are readable.
- Pages have a clear project name and sensible order.
- The downloaded PDF opens and displays correctly.
What happens when you need client proofing?
A PDF works well when one person is making selections. For a review that needs per-image notes, pick limits, or a consolidated response, a saved project can be shared through the client-proofing workflow. Start with the free editor, then choose sharing only if the project requires it.